Paper work and laundry… I have not found anybody who would like to spend more time on it, yet everybody has to do it!!
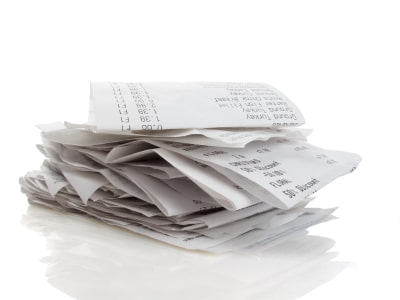
Receipts, receipts and more receipts. Where did I put them? Tax season is approaching and I, like all of you my dear readers, have to get our paperwork in order. It is time to prepare a spreadsheet or enter the information on an accounting program such as Quickbooks. Several hours of work await. Ugh!
But what if there is another option to get and stay organized?
What if you could have all of your receipts automatically entered onto a spreadsheet?
Your iPad can help you with all this . You just need the ShoeBoxed App!
ShoeBoxed is the easiest and fastest way to organize your receipts and generate reports.
Today I will introduce you to the ShoeBoxed App on iPad, I will show you how to scan a receipt and how to quickly generate an expense report.
I’m still working on a laundry App. Not there yet ;-)
Before we begin, make sure your iPad is connected to the Internet.
You can download and install the ShoeBoxed App from the App Store.
Creating a ShoeBoxed account
You can sign up for a Forever Free account that includes 5 document scans per month (no credit card required).
Just go to www.Shoeboxed.com![]() , enter your email address and click on the “Let’s go!” button.
, enter your email address and click on the “Let’s go!” button.
Remember to check your email address and confirm your registration.
Opening the ShoeBoxed App
Tap on the ShoeBoxed App you just downloaded.
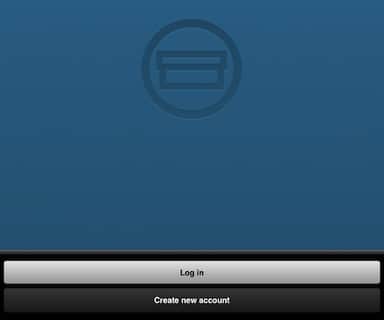
Tap on “Log in” and enter the information of the account you recently created.

Once you are logged in, the iPad camera gets activated and you can start scanning receipts that will be stored on your shoeboxed account.
Scanning Receipts
Put your receipt on a flat surface. A table or your leg will do. On your iPad, aim at the receipt and tap on the camera button.

if you are satisfied with the snapshot, tap on the “Use” button. Otherwise tap on the “Retake” button and try again.
After you tap on “Use” the receipt will begin uploading and will be processed by ShoeBoxed. Processing takes some time.
By the way, if you live in the USA, you may want to know that Shoeboxed scans are IRS accepted.

Viewing Receipts
Once the receipts have been processed, you can view them online on your ShoeBoxed account. From your computer (or your iPad), log in to the ShoeBoxed website.
Click on “Receipts” from the top menu. You will see a table with your processed receipts.

Here, you can click on any receipt and review its details such as vendor name, date, currency, total, category, etc.
Exporting Expense Report
From the Receipts screen, click on “Export All”.

This brings you to the “Export Expenses” screen.
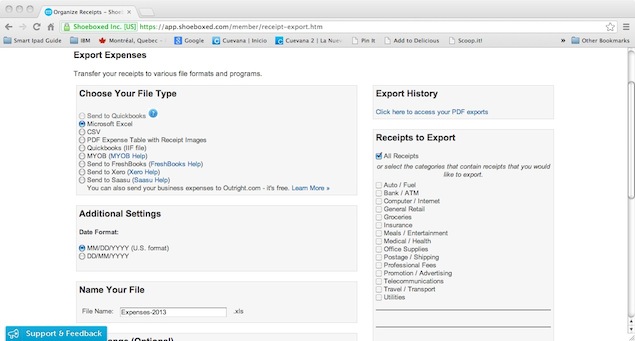
In this example I will be choosing to export the data as an Excel file. I will add a file name (Expenses-2013) and leave all other options to their default values.
Once you are done selecting your options, click on the “Export to Excel File” button.
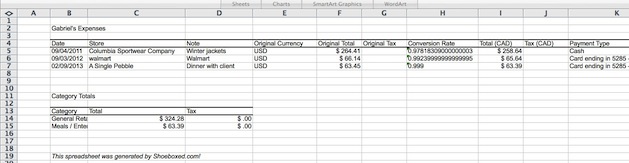
Your Excel file is generated and your receipt information has been exported!!
Paper work is done!!! Free time is back in your hands where it belongs :-) Now you can go have fun and relax with your family and friends.

Did you like this post?
Please consider Tweeting, Liking and emailing this article to your family
and friends :-)